Building a Custom Cat-Themed Icon Set
A COMM 130 Visual Media projectProject Overview
I was asked to design a custom icon set of five icons that work well together. Since I had just started learning Adobe Photoshop and Illustrator, this project became my first big opportunity to explore professional design tools and build a themed set from scratch. This case study walks through the steps I took from rough sketches and color choices to drafts, and the final icon set.
Tools & Starting Point

Canva Experance
Before this project, the only design software I really knew was Canva, which is very template-based and drag-and-drop.
Adobe Photoshop
I used Adobe Photoshop to prepare files, adjust graphics, and export my icons for the web.


Adobe Illustrator
I used Adobe Illustrator to build the final icons with clean shapes, paths, and colors.
Sketches & Idea Exploration
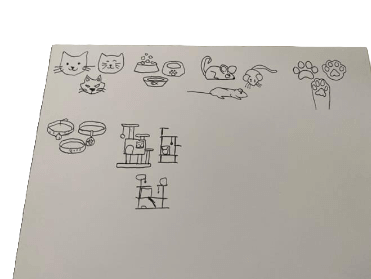
For the sketching phase, we had to create at least three variations for each icon. At first, I wasn’t sure what theme to pick, so I looked online for inspiration and tried out a bunch of ideas. Because I love cats, I finally decided to go with a cat theme. I sketched different cat faces, cat towers, paws, toys, and other cat-related ideas until I found a direction that felt fun and consistent.
Sketches I went with

From all of my original ideas, these are the sketches I decided to move forward with. These sketches felt the most consistent, clear, and fun and they became the foundation of my final icon designs.
First Icon Draft
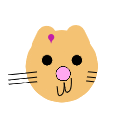


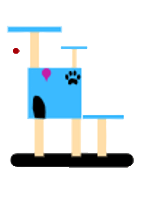
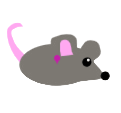
Out of all my initial ideas, these were the sketches that stood out the most. They felt clear, fun, and consistent with the cat theme I wanted to build. These became the base for my final icon drafts.
Color Palette
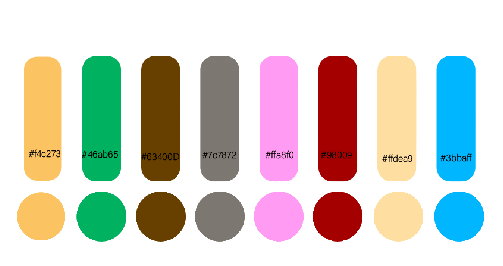
Before I moved into Adobe Illustrator, I chose a color palette for my icons. I wanted to pick colors that would really make my icons pop and also show the playful side of cats.
Final Icon Set


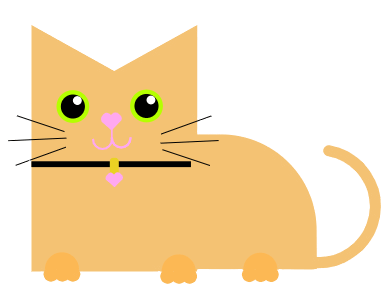
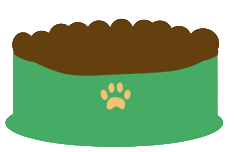
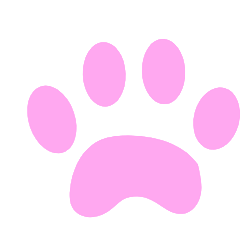
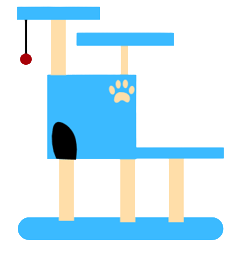
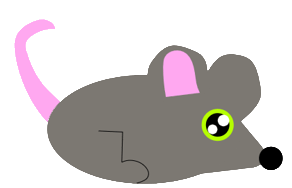
These are the final versions of my cat-themed icons. Each icon was refined based on iteration to feel more consistent, recognizable, and polished. Together, they work as a cohesive set while still allowing each icon to have its own personality.
Want to see what I design next?
I’m always excited to keep learning, experimenting, and improving my work. I’d love the opportunity to collaborate on future creative projects and see where design can take us next.